
Installing a Ring Doorbell yourself is one of the quickest home improvement projects you can tackle, no special skills required, and you’ll gain live video monitoring, motion alerts, and two-way talk functionality at your front door. Whether you’re upgrading from a traditional doorbell or starting fresh, this guide walks you through the installation process step by step. Most homeowners complete the job in under 30 minutes once they’ve gathered their tools and materials. The key is understanding your existing wiring, taking time to position the camera properly, and following a methodical approach to avoid callbacks.
Table of Contents
ToggleKey Takeaways
- How to install a Ring doorbell typically takes 20–30 minutes and requires only basic tools like a drill-driver, voltage tester, and screwdriver—no special skills needed.
- Always use a voltage tester to confirm power is off before handling any doorbell wiring, a critical safety step that costs just $10 and prevents dangerous electrical shocks.
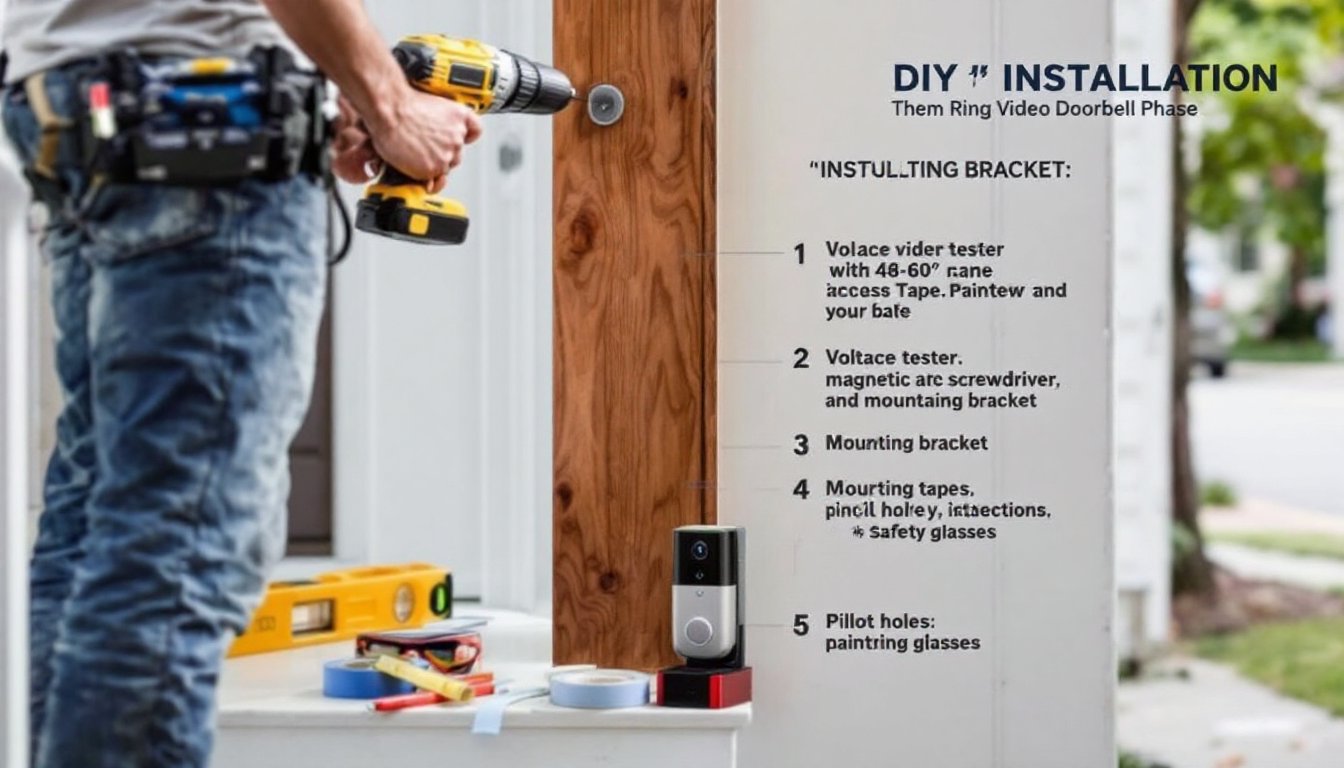
- Position your Ring doorbell 48–60 inches from the ground at eye level to capture visitor faces clearly, and use painter’s tape to mark screw holes for precise alignment before drilling.
- If you have existing doorbell wiring, connect it to the Ring using the included connector block; if not, use the optional power adapter ($30–50) to avoid rewiring entirely.
- After installation, use the Ring app to connect to your 2.4 GHz Wi-Fi network, test the live feed and two-way talk feature, and enable motion alerts for complete front-door security.
- The most common post-installation issues are Wi-Fi connectivity problems—if your doorbell is far from your router, consider a mesh Wi-Fi system or repositioning your router closer to the front door.
What You’ll Need Before You Start
Materials
- Ring Video Doorbell (2nd Gen, 3rd Gen, or Pro, your choice depends on resolution and feature needs)
- Mounting bracket (usually included with Ring)
- Existing doorbell wiring (if you have one: if not, you’ll need a power adapter)
- Appropriate fasteners: Use 3/16-inch or 1/4-inch screws to match your door frame material (wood, metal, or vinyl)
- Weatherstripping or shims (optional, to level the device)
Tools
- Drill-driver (cordless or corded)
- Drill bits (3/32-inch or 1/8-inch for pilot holes)
- Screwdriver set (magnetic tips help with small fasteners)
- Voltage tester or multimeter (critical for safety, you must verify no power before touching wires)
- Pencil for marking
- Level (a smartphone level app works in a pinch)
- Wire stripper (if rewiring is needed)
- Painter’s tape (to mark screw positions and protect your door)
Safety Gear
- Safety glasses (drill debris can fly)
- Work gloves (especially when handling old wiring)
- Dust mask (optional, but useful when drilling into composite or metal frames)
The most common mistake is skipping the voltage tester. Even if you turn off the breaker, always double-check that no current is flowing before you handle any wires.
Prepare Your Existing Doorbell Wiring
Before mounting anything, you need to know what power source you’re working with. Most homes built after the 1960s have a doorbell transformer, a small device (usually located in the basement, attic, or garage) that steps down household voltage to 8–24 volts AC for the doorbell.
First, locate your transformer. Look near your electrical panel or in utility closets. Once found, note the voltage output (typically 16V or 24V), you’ll see it printed on the unit. Turn off power to the transformer at your breaker panel, then use your voltage tester to confirm the wires are dead. This is non-negotiable safety work.
If you have an existing doorbell, you’ve got power ready to go. Disconnect the old doorbell button (usually two small wires) by unwiring it. Leave the transformer running and the wires at your door frame intact, you’ll reconnect them to your Ring.
If you have no doorbell, Ring offers a power adapter (sold separately, around $30–50) that plugs into an indoor outlet and connects wirelessly to the doorbell. This is the fallback option and avoids rewiring altogether.
Never assume wires are “live” or “dead” without testing. A voltage tester is a $10 investment that could save you from a painful shock. If you’re uncomfortable working with electricity, hire a licensed electrician, it’s worth the call-out fee for peace of mind.
Mount the Ring Doorbell
Positioning and Drilling
Position matters more than most DIYers expect. The Ring doorbell’s camera sits low on the device, so aim for 48 to 60 inches from the ground, roughly at eye level for most visitors. This height captures faces clearly while showing shoulders and hands. If you have a porch overhang, position the doorbell far enough from it so rain doesn’t drip directly on the lens.
Use painter’s tape to mark your screw holes (the mounting bracket has two). Double-check alignment with a level, a tilted doorbell looks sloppy and may miss recording people at door height. Step back and verify the positioning before drilling a single hole.
Drill pilot holes using a bit about half the diameter of your screws (usually 3/32-inch for 1/4-inch fasteners). Pilot holes prevent the door frame from splitting and make screw insertion much easier. If your door frame is metal or vinyl, reduce drill speed and use a bit sized for that material: modern composite frames often use standard wood bits. Wear safety glasses during drilling, metal shavings can bounce back.
Secure the Mounting Bracket
Insert the fasteners through the mounting bracket and into the pilot holes. Use a magnetic screwdriver to avoid dropping screws into gaps. Tighten firmly but don’t over-torque, you’re not assembling a jet engine. The goal is a secure, level bracket that won’t shift when someone presses the button or you adjust the camera.
Once the bracket is mounted, snap the Ring doorbell onto it. The device clicks into place and is held by a release tab on the back (you’ll use this tab later if you ever remove it). Verify it’s seated fully before proceeding to wiring.
Connect the Wiring and Power
This is where most installers either breeze through or get stuck, depending on whether they have existing wiring.
If you have existing doorbell wires: Strip about 1/4 inch of insulation from each wire. You’ll have two wires, positive and negative (often one is red, the other black or white, but colors vary by age). Connect these to the Ring using the included connector block: insert the stripped wires into the spring-loaded terminals and tighten the set screws. No soldering, no tape, the connector block handles the connection securely. Route the wires along the door frame and into the doorbell’s housing on the back.
If you’re using a power adapter: Skip the doorbell wiring entirely. Plug the adapter into an interior outlet (kitchen, hallway, or utility room), and the Ring will pair with it wirelessly during app setup. This method eliminates splicing and is often faster.
Before finalizing connections, use your voltage tester one more time to confirm the transformer is still off. You’re working with low voltage (16–24V), which is safer than household current, but it’s still electricity. After wiring, turn the transformer back on at the breaker panel, and verify the Ring shows power in the app (more on that below). If it doesn’t, check your connections, loose terminals are the most common culprit.
A smart home installation guide can provide additional context on wiring best practices for connected devices.
Set Up Your Ring Doorbell App and Finish
Download the Ring app (free on iOS and Android) and create or log into your Ring account. Open the app and select “Add Device,” then choose your doorbell model. Follow the prompts to connect to your Wi-Fi network, use the 2.4 GHz band if your router offers dual-band (5 GHz often has weaker wall penetration and can cause connectivity issues).
The app will test your signal strength and confirm the doorbell is powered. Weak Wi-Fi is a common post-installation complaint: if your doorbell is far from the router, consider adding a mesh Wi-Fi system or moving your router closer to the front door.
Once connected, the app will walk you through final setup: naming your doorbell, enabling motion alerts, adjusting video quality (higher quality uses more data but captures details better), and configuring video recording duration. The default settings work fine for most homes, so don’t overthink this part.
Final checks:
- Press the doorbell button and confirm you hear chimes inside your home (if you have an existing chime connected to the transformer).
- Open the app and watch the live feed from your phone, do you see your porch clearly? Is the angle right?
- Test two-way talk by speaking through the app: check that the speaker and mic work.
- Enable motion alerts in the app so you’re notified when someone approaches.
If the doorbell powers on but the app doesn’t connect, restart your router and re-add the device. Connection issues are almost always Wi-Fi related, not hardware problems. Ring doorbell installation guides often cover troubleshooting in detail if you run into snags.
After setup, you’re done. The entire process typically takes 20–30 minutes once you understand your wiring situation. Clean up any dust or debris from drilling, and test the doorbell a few times over the next day to make sure everything is stable.