
Most people assume the dishwasher handles all the heavy lifting, but proper dishware preparation before washing is what separates spotless dishes from disappointing results. The reality is simple: what you do in those few minutes before loading directly impacts how clean your dishes come out. Pre-rinsing, scraping food debris, and understanding what your machine can and can’t handle aren’t extra steps, they’re the foundation of efficient dishwashing. This guide walks through the essential prep work every homeowner should know, so your dishes stay cleaner longer and your machine runs smoothly for years to come.
Table of Contents
ToggleKey Takeaways
- Scraping off food debris thoroughly before washing prevents filter clogs and spray arm blockages, directly improving dishware cleanliness and preventing costly repairs.
- A light rinse under warm water removes loose particles and helps detergent work more effectively during the wash cycle, taking only 5–10 seconds per item.
- Sort and load dishes strategically by placing heavy items on the lower rack, delicate glassware on the upper rack toward the center, and plates vertically to allow optimal water circulation.
- Cast iron, hand-painted dishes, vintage glassware, and sharp knives should never go in the dishwasher, as the machine will damage these items or strip their protective seasoning.
- Avoid common mistakes like overloading, nesting dishes, and placing delicate items near powerful spray jets; these errors trap water and prevent detergent from reaching all surfaces.
- Proper dishware preparation takes only five extra minutes per load but delivers dramatically cleaner dishes and extends your dishwasher’s lifespan significantly.
Scrape Off Food Debris Thoroughly
Start with the basics: scraping. Before anything touches the dishwasher, remove large food particles by hand or with a rubber spatula. This isn’t optional, buildup in the filter clogs the spray arms and reduces water circulation, leaving dishes greasy and spotted.
Dry, caked-on food is the hardest to remove. If plates have dried residue, soak them in warm water for 10–15 minutes before scraping. Use a soft spatula or brush to avoid gouging the surface, especially on nonstick or delicate cookware. For pots and pans with stubborn spots, a quick presoak saves frustration later.
Pay special attention to bowls, plates with ridges, and serving dishes. Food hides in texture and rim edges. A quick visual inspection, literally looking at each dish, catches what a quick rinse might miss. The goal is to remove visible debris: you’re not trying to pre-clean the dish entirely.
Rinse Dishes For Optimal Cleaning
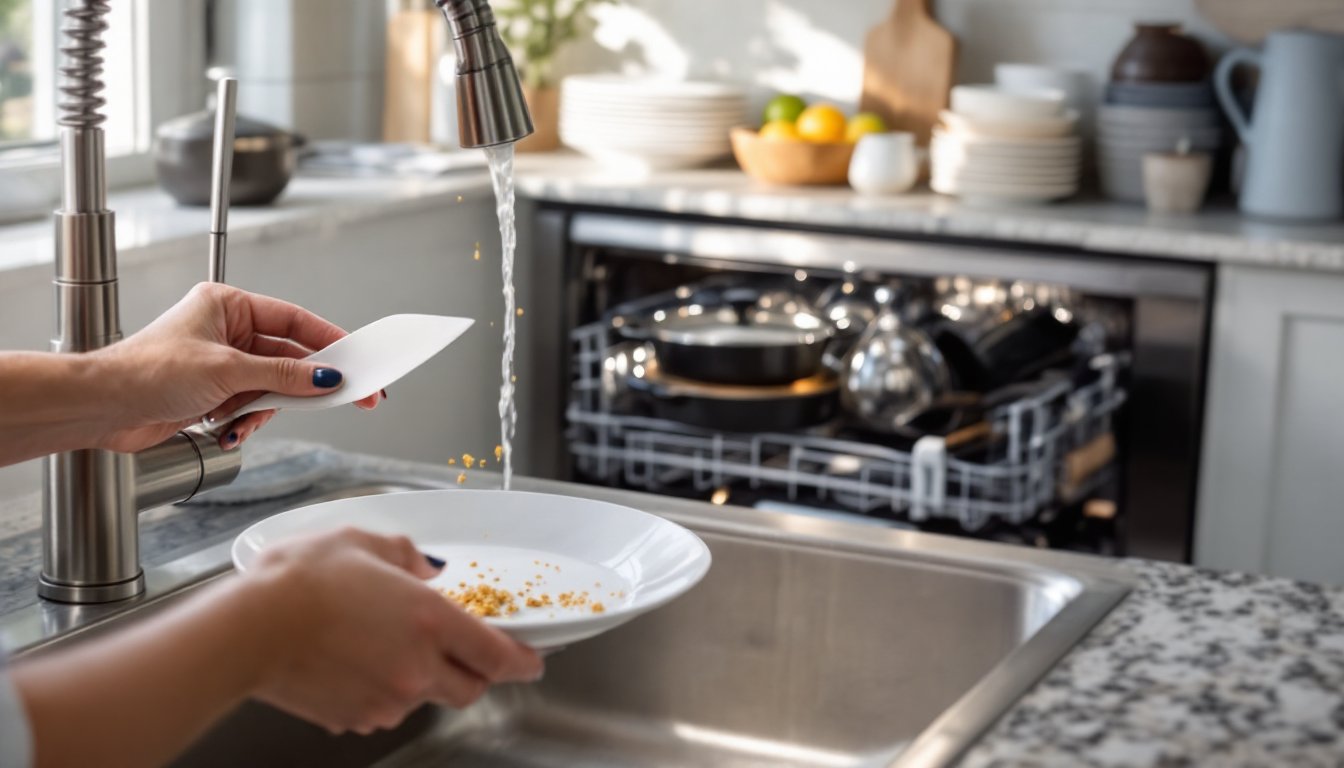
After scraping, a light rinse under warm running water removes loose particles and helps detergent penetrate during the wash cycle. Hold each dish at an angle and let water flow across both sides. This takes 5–10 seconds per item, quick work, but it makes a visible difference.
The debate about pre-rinsing has shifted over the years. Modern dishwashers and detergents are formulated to handle some food residue, but rinsing removes enough loose debris to prevent filter clogs and spray arm blockages. Think of it as removing the easy stuff so the detergent and wash jets can focus on actual stains and grease.
For greasy cookware or dishes with oil residue, a slightly warmer rinse helps. You don’t need scalding water, room-temperature to warm works fine. Place rinsed dishes upright in the rack immediately, or stack them in a clean, dry area if you’re batching several loads. Avoid letting rinsed dishes air-dry for hours beforehand: bacteria can regrow on damp surfaces.
Separate And Sort Your Dishes
Grouping similar items together isn’t just about organization, it ensures even cleaning and protects your cookware. Heavy items like pots, pans, and cast iron belong in the lower rack, where water pressure is stronger. Plates, bowls, and flat items go on the upper rack.
Glassware and stemware need the gentlest position: the upper rack, toward the center where spray is less aggressive. Lightweight bowls should sit upright, not nested, so water reaches every surface. Plates can overlap slightly, but don’t cram them too tightly, water jets need space to work.
Mutually damaging items should never share space. Knives and delicate glassware shouldn’t rest against hard stoneware. Sharp utensils can scratch fine china. Stainless steel and aluminum shouldn’t touch, as they can transfer marks.
Know What Cannot Go In The Dishwasher
Certain items will be damaged or damage other dishes if loaded into the machine. Hand-painted or antique dishes, vintage glassware with delicate paint, and wood-handled flatware should be washed by hand. Many plastics, even dishwasher-safe varieties, degrade faster in the machine’s heat and humidity.
Cast iron should never go in a dishwasher, the detergent and water strip the seasoning you’ve built up. Knives belong in the hand-wash category: the machine dulls blades and loosens handles. Some cookware with non-metal handles or silicone grips can warp under heat. Always check manufacturer labels. If you’re unsure, hand wash it. One skeptical owner can avoid mistakes by reviewing best practices on home care.
Load The Dishwasher Strategically
How you arrange dishes inside the machine determines whether they come out sparkling or spotty. Bowls should angle toward the spray jets, typically tilting slightly inward. Plates stand vertically or at a slight angle, not flat on the rack. Flat placement traps water and food on the top surface.
Utensils go handle-down in the basket, with different types separated so they don’t nest or obscure each other. Spoons, forks, and knives in separate compartments let water and detergent reach all surfaces. Avoid overloading, every item needs room for water and spray jets to reach it.
Place tall items like water glasses and travel mugs in the back corners where they won’t block water flow. Never block the spray arms: they rotate freely and must reach every dish. A simple visual check before starting the cycle catches 90% of loading mistakes. If you can’t see water paths to a dish, reposition it.
Common Preparation Mistakes To Avoid
One frequent error is overloading. Cramming more dishes in one load saves time in the moment but guarantees poor results. Dishes touch, water can’t circulate, and detergent doesn’t reach every surface. Running two normal loads beats one packed load every time.
Another mistake is inadequate scraping or rinsing. Dried-on food in the filter causes the machine to work harder and eventually fail. Replacement filters cost $40–$100: five seconds of scraping prevents that expense.
Nesting dishes, stacking bowls or plates tightly together, traps water and prevents jets from accessing inner surfaces. That’s why modern racks have specific slots: use them as designed. Plates belong vertical, bowls at angles, not nested like a stack of stored dishes.
Ignoring water temperature matters too. Using cold or lukewarm rinse water doesn’t do much work: warm water helps remove greasy residue. Check your dishwasher manual for recommended water temperature. Many machines heat their own water, but starting with warm tap water improves results.
Placing delicate items on the lower rack, closest to the powerful spray jets, damages fine china and glassware. These belong on top. Conversely, heavy cast iron and thick cookware perform better on the lower rack, where pressure is strongest. Reversing these placements leads to breakage or poor cleaning.
Conclusion
Proper dishware prep doesn’t require special skills or expensive equipment. Scraping, rinsing, sorting, and strategic loading take maybe five extra minutes per load, but they deliver dramatically cleaner dishes and extend your machine’s lifespan. Start with these steps on your next load, and you’ll notice the difference immediately. Your dishes, and your dishwasher, will thank you.